
.svg)
Editing Wildlife Photos in Lightroom: My Workflow
October 9, 2024

The amount of so-called “photographers” I see come to the Pantanal, spend thousands on the trip, carry the best camera gear — only to over-edit or ruin their shots in post-production — is staggering. A jaguar encounter deserves better than neon colors, crunchy textures, or fake-looking skies.
Editing is where a photo either lives up to the moment…or dies on your hard drive. A great wildlife image doesn’t end when you press the shutter — that’s just the beginning. Editing should bring out the emotion, light, and detail you experienced in the field, not cover it up.
This is my Lightroom workflow for wildlife photography — the same process I use on Jaguar Safaris in the Pantanal and when photographing wildlife across the globe.
Step 1: Import and Organize
The first step is workflow. Get this right and everything else flows.
I always create a Lightroom catalog dedicated to the trip, and I organize by day:
2025/07/23, 2025/07/24, 2025/07/25, etc.
It sounds boring, but an organised Lightroom catalog is the foundation of good editing.
Tip: Back up your images immediately — external drive (Eg: Sandisk SSD)
Step 2: Cull Efficiently
Good editing starts with ruthless culling.
- Use the flagging system (P for pick, X for reject).
- Only keep sharp, well-composed images.
- If you shot a jaguar hunting sequence, don’t keep 20 nearly identical frames — choose the one with the strongest story.
Step 3: Global Adjustments
This is where the photo starts to come alive.
- Crop & Straighten – Fix composition, remove distractions, make sure horizons or riverlines are level. If it’s for Instagram, think format: Story 16:9, Post 5:4, or 1:1.
- Exposure & Contrast – Adjust to match what it actually felt like.
- White Balance – Jaguars in shade or in water often look too blue. A touch of warmth brings them back to life without looking fake.
- Presence (Clarity, Texture, Dehaze) – This is where most people completely ruin their wildlife photos. Cranking clarity or texture to 100 doesn’t make your image better — it makes it look like a video game. Subtle adjustments can enhance fur and feathers; overdoing it will destroy the natural feel.
Step 4: Local Adjustments
This is where you guide the viewer’s eye.
- Radial Filters – Lightly bring attention to the eyes or face of the animal. Humans are wired to connect with eyes, so use that — but keep it subtle.
- Brush Tool – Lighten specific areas without touching the whole image. For example, lifting shadows under a jaguar’s face while leaving the background untouched.
- Graduated Filter – Balance skies, sand, or water reflections. In the Pantanal especially, midday light can be harsh. Getting shadows and highlights balanced keeps the focus where it should be — on the animal.
Tip: Learn to read the histogram. Blacks to the left, whites to the right. It tells you more about exposure than your eyes on the laptop screen ever will.
Step 5: Final Touches & Export
- Spot Removal – Clean sensor spots or any distracting specks.
- Vignette – A very subtle darkening around edges can help pull focus, but again — subtle is the most important word in wildlife photography. The best vignette is the one the viewer doesn’t notice.
- Export Settings:
- JPEG, 300dpi for print
- JPEG, 2048px long edge for web/social
- Always keep an untouched high-res copy
A Note on Subtlety
The most important word in wildlife photography is subtle. Use tools sparingly. Guide the viewer, don’t smack them in the face with edits.
I see so many people trying to be fancy with their edits — extreme colors, heavy filters, fake skies — and 99% of the time it ruins the photo. There are only a handful of wildlife photographers in the world who can pull off “fancy edits” and make it look good. For everyone else (myself included), the goal is to keep the animal, the light, and the story as natural and true as possible.
Final Word
Editing is where wildlife photography becomes art. Done right, it reveals the drama, intimacy, and beauty of the moment without drowning it in gimmicks.
On our Jaguar Safaris in the Pantanal, I teach guests this exact workflow so they return not just with incredible images, but with the skills to bring them to life.
👉 Thinking about joining a Jaguar Safari in Brazil? Explore our tours and take your photography to the next level.
If you’re still deciding where to travel next, check out my blog on Pantanal Safari vs. African Safari to see how they compare.
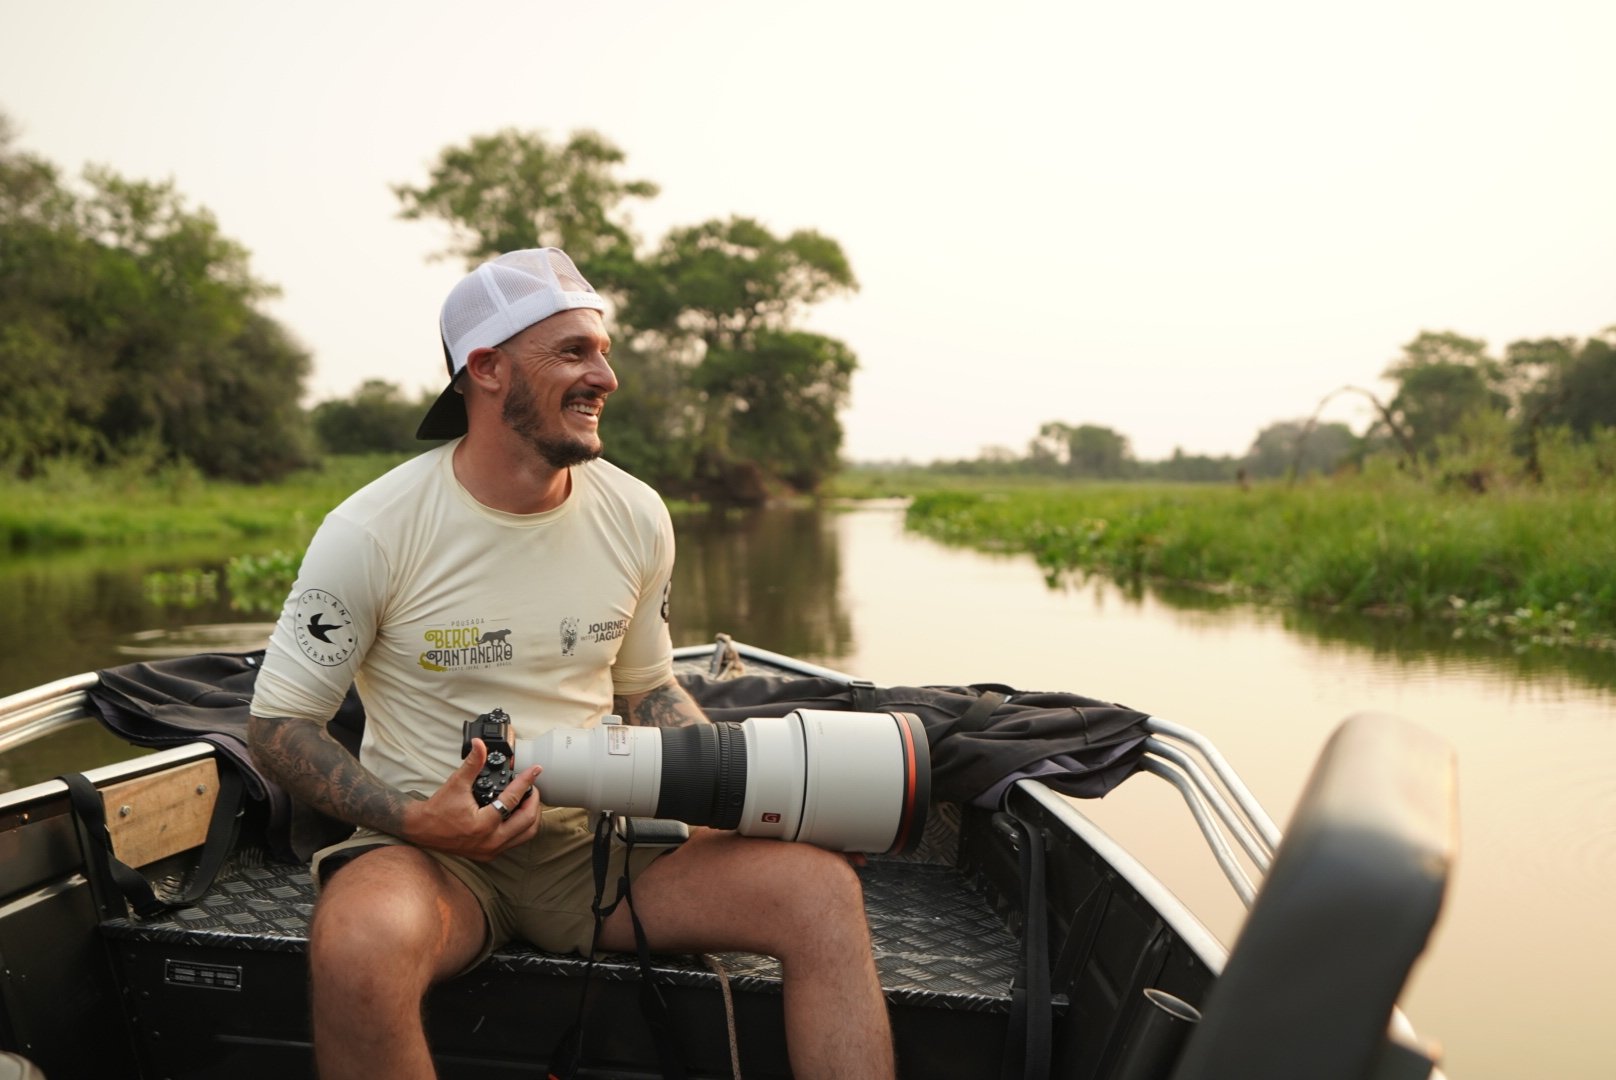
Ex-professional athlete turned wildlife photographer and expedition leader Benjamin James now dedicates his life to capturing and protecting the natural world. He leads immersive wildlife expeditions through his company Journey With Jaguars, bringing adventure-driven guests face-to-face with one of the planet’s most elusive big cats.
Benjamin was a freelance videographer for The Wild Immersion and is affiliated with several environmental NGOs. He is the director of CLIC, a nonprofit that installs solar-powered medical clinics in remote Indigenous communities in Colombia — bridging conservation, culture, and health.
His mission is simple: connect people to wild places, and make sure those places still exist for future generations.
.png)
Step into the wild
Exclusive trip updates, rare jaguar stories, and insider photography tips - straight to your inbox!